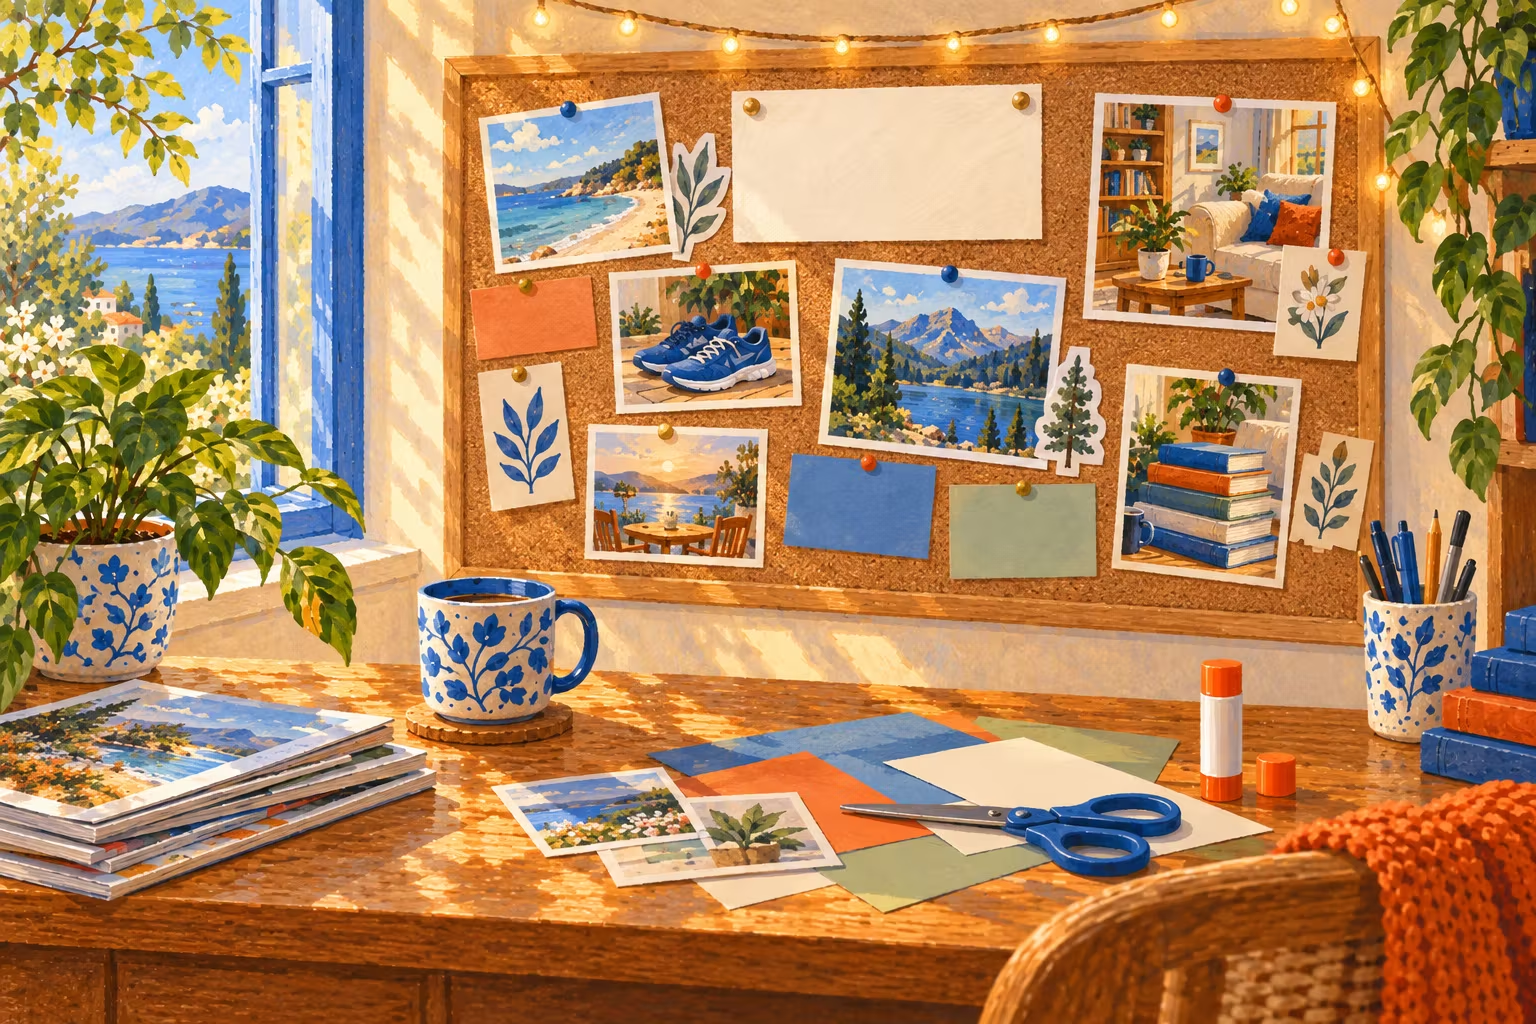
What is a vision board, and what makes one useful?
A vision board is a collage of images and words that stand for the life you want to build over the next year. A useful one does two jobs. It reminds you what matters, and it points to the next small thing you will do about it.
Most boards stop at the first job. They look lovely for a week, then fade into the wall. This guide adds the step most instructions skip: every image on your board gets one weekly action and a monthly check-in. That is what turns a picture into a plan.
If you are unsure whether the idea is worth your time, do vision boards work? walks through the research. The short version: dreaming alone does little, but a clear picture paired with a concrete plan can help.
What do you need to make a vision board?
For a physical board, you need a base, images, something to stick them down with and a pen. For a digital board, you only need a phone or computer and a free design tool. Here is a full checklist.
Supplies checklist for a physical board
- A base: cork board, foam board, poster board (22 x 28 inches is a common US size) or a large sheet of cardboard.
- Images: old magazines, catalogs, printed photos, postcards, brochures or your own sketches.
- Words: a printed word list, letter stickers or your own handwriting.
- Cutting: scissors and, if you like clean edges, a craft knife and cutting mat.
- Sticking: glue stick for paper, double-sided tape, or push pins for a cork board.
- Writing: a thick marker for headings and a fine pen for small labels.
- Optional: washi tape, sticky notes, a frame, string lights or colored card for sections.
- For the planning step: a notebook or index cards for goals and weekly actions.
A cork board with pins is the easiest to update. Glue feels more permanent, which some people like and others find limiting.
What you need for a digital board
How to make a digital vision board covers phone wallpapers, screen sizes and app options in detail.
How long does it take to make a vision board?
Plan on about two hours for your first board, split across one or two sittings.
| Stage |
Time |
What you do |
| Reflect and write goals |
20 to 30 minutes |
Pick life areas and write one goal for each |
| Gather images and words |
30 to 60 minutes |
Collect more than you need |
| Lay out and stick down |
20 to 40 minutes |
Arrange, edit, then glue or export |
| Add weekly actions |
15 to 20 minutes |
Write one small action for each image |
| Monthly review |
10 minutes a month |
Check progress and swap what no longer fits |
How do you make a vision board, step by step?
Write your goals before you touch a magazine. Then find images for those goals, lay them out, put the board where you will see it and give every image a weekly action. Here are the eight steps.
Step 1: Choose three to five life areas
Pick the parts of life you most want to change or grow this year. Common areas are health, work, money habits, home, relationships, learning, travel, creativity and rest.
Three to five is the sweet spot. Fewer than three can feel thin. More than five usually turns into a crowded board where nothing stands out. If you need inspiration, vision board ideas lists more than 100 ideas grouped by area.
Step 2: Write one goal for each area
For each area, write one sentence that describes what you want by the end of the year. Make it something you can picture and, ideally, something you can check.
Compare these two:
- Vague: "Be healthier."
- Clearer: "Walk most mornings and feel strong on a 5-mile hike by summer."
The clearer version gives you something to picture and something to act on. If you want help sharpening a goal, the SMART goals tool walks you through it.
Step 3: Name the feeling behind each goal
Next to each goal, write one word for how you hope it will feel, such as calm, capable, close, free or proud. This helps you pick images later. It also helps when a goal changes, because you can find a new path to the same feeling.
Step 4: Gather images and words
Now look for pictures. Aim for one or two images per goal, plus a few words or short phrases. Collect more than you need, then edit.
Good images show you doing something, not only the end result. A photo of hiking boots on a trail is more useful than a photo of a mountain summit, because it points to the thing you will actually do each week.
For words, choose short and concrete over big and vague. "Walk before work" helps more than "Best life ever."
Step 5: Lay it out before you stick anything down
Arrange everything loosely first. A few simple layouts work well:
- Grid: one square or column per life area. Clear and easy to read.
- Center focus: your most important goal in the middle, the rest around it.
- Word of the year: one word in the center, images for each area around it.
- Timeline: seasons or quarters from left to right.
Leave some empty space. A board with room to breathe is easier to read at a glance, and it leaves space for things you add later. Take a phone photo of the layout before gluing, so you can rebuild it if pieces shift.
Step 6: Put it where you will see it daily
Choose a spot you pass every day but that still feels private enough, such as inside a closet door, above your desk, beside your bathroom mirror or near where you make coffee. A digital board can become your phone or laptop wallpaper.
If you share a home, you can keep the board somewhere personal. It is for you, not for guests.
Step 7: Turn every image into one weekly action
This is the step that makes the board work. Under or behind each image, write:
- The goal it stands for.
- One small weekly action you can do even on a busy week.
- One likely obstacle and an if-then plan for it.
For example, under the hiking boots: "Walk 20 minutes three mornings a week. If it is raining, then I will walk the stairs in my building."
That if-then line matters. In a meta-analysis of 94 tests, plans that name when, where and how to act had a medium-to-large effect on reaching goals (Gollwitzer & Sheeran, 2006). You can read more in what research says about planning and if-then plans.
If you keep the weekly actions on sticky notes or index cards, you can change them without redoing the board. A simple habit tracker template works well for ticking them off.
Step 8: Review the board once a month
Set a 10-minute monthly check-in, such as the first Sunday of the month. Ask three questions for each image:
- Did I do the weekly action most weeks?
- Is the action still the right size, or should it be smaller or bigger?
- Does this goal still matter to me?
Swap images and actions as life changes. A board that changes is a board you are still using.
Should you make a physical or digital vision board?
Choose physical if you enjoy making things by hand and have a wall you pass every day. Choose digital if you want to see it on your phone many times a day or change it often. Many people make both.
|
Physical board |
Digital board |
| Cost |
Low; mostly supplies you may already have |
Usually free with a free design tool |
| Time to make |
1.5 to 3 hours |
45 minutes to 1.5 hours |
| How often you see it |
Each time you pass the wall |
Each time you unlock your phone or open your laptop |
| Easy to update |
Easy with pins, harder with glue |
Very easy; edit and re-export |
| Privacy |
Stays in your home |
Visible on a lock screen; files may sit in cloud storage |
| Feel |
Hands-on, calming, good for groups |
Quick, portable, easy to share or keep private |
| Best for |
Crafty people, families, vision board parties |
Busy schedules, people who move often, frequent updaters |
What does a finished vision board look like?
Here is a worked example. Maya is 34, works full time and wants the coming year to feel steadier. She picks four areas and builds a cork board with pins.
| Image |
Goal |
Weekly action |
If-then plan |
| Hiking boots on a trail |
Walk most mornings; hike 5 miles by summer |
Three 20-minute morning walks |
If it rains, then I walk the stairs in my building |
| A kitchen table set for two |
Cook at home more and eat out less |
Cook two dinners from a list on Sunday |
If I am too tired, then I make the backup pasta |
| An open notebook and pen |
Finish a short online course in design |
Two 30-minute study sessions |
If I miss Tuesday, then I study Saturday morning |
| Friends laughing at a picnic |
See close friends more often |
Send one message to plan a meetup |
If plans fall through, then I call instead |
In the center, Maya pins one word: "Steady." Her board hangs next to her front door, so she sees it on her way out each morning.
On the first Sunday of March, she reviews it. The walks are happening. The course is not, because Tuesdays are too full. She moves the study sessions to Wednesday and Saturday and shrinks them to 20 minutes. Nothing about the board looks different, but the plan behind it now fits her real week.
Which version fits your situation?
If you are busy. Make a small board with three areas, or a phone wallpaper you can build in under an hour. Keep weekly actions tiny, such as 10 minutes.
If your energy is low or changes a lot. Choose one area only and one gentle weekly action. You can add more once the first action feels normal.
If you are restarting after a hard year. Build a board around feelings first, such as calm, rested and connected. Then choose small actions that support those feelings. Starting smaller is not a lesser goal.
If you want to do it on a weekend or with others. Turn it into an afternoon with friends or family. Vision board party ideas has a simple plan, and there are separate guides for a vision board for kids and a vision board for students.
If you are planning for the new year. A 2027 vision board guide covers a year-specific layout with quarterly check-ins.
What are the most common vision board mistakes?
Starting with magazines instead of goals. You end up with a board full of pretty pictures that do not connect to anything you plan to do.
Only picturing the finish line. A beach house or a trophy shows the outcome, not the path. Add at least one image of the process for each goal.
Too many goals. A board with 12 areas is hard to act on. Pick three to five.
No weekly actions. Without them, the board is a mood, not a plan.
Hanging it where you never look. A board in a drawer does nothing. Put it on your daily path.
Never updating it. Life changes. A board you have not touched since January is likely out of date by April.
Treating it as magic. A vision board does not attract outcomes by itself. It is a reminder and a planning tool. The work still happens in your week.
What does the research say about vision boards?
There are no strong controlled trials of vision boards themselves, so the evidence comes from related research on imagining the future and planning. It points in a clear direction, with limits.
Picturing only the dream can backfire. In four studies, people who had more positive fantasies about a desired outcome, such as getting a job, put in less effort and did worse weeks or months later (Oettingen & Mayer, 2002).
Picturing the steps helps more. In a study of college students before a midterm, those who imagined the process of studying for 5 to 7 days studied more and got better grades than those who imagined getting a good grade (Pham & Taylor, 1999).
Specific plans help people follow through. If-then plans had a medium-to-large average effect on goal attainment across 94 tests (Gollwitzer & Sheeran, 2006).
The limits. None of these studies tested a vision board. They studied imagination and planning in specific groups, often students, over weeks or months. They suggest how to design a better board, not that a board guarantees any result.
How do you keep the board working all year?
Link your monthly review to something you already do, such as paying a bill or the first weekend of the month. Keep the review short. Ten minutes you actually spend beats an hour you keep postponing.
When a weekly action becomes automatic, it is ready to become a habit. How to build a habit shows how to set it up so it lasts, and the 30-day habit building plan takes you through it one small step a day. You can also build a plan for one of your board goals or explore the productivity topic hub.